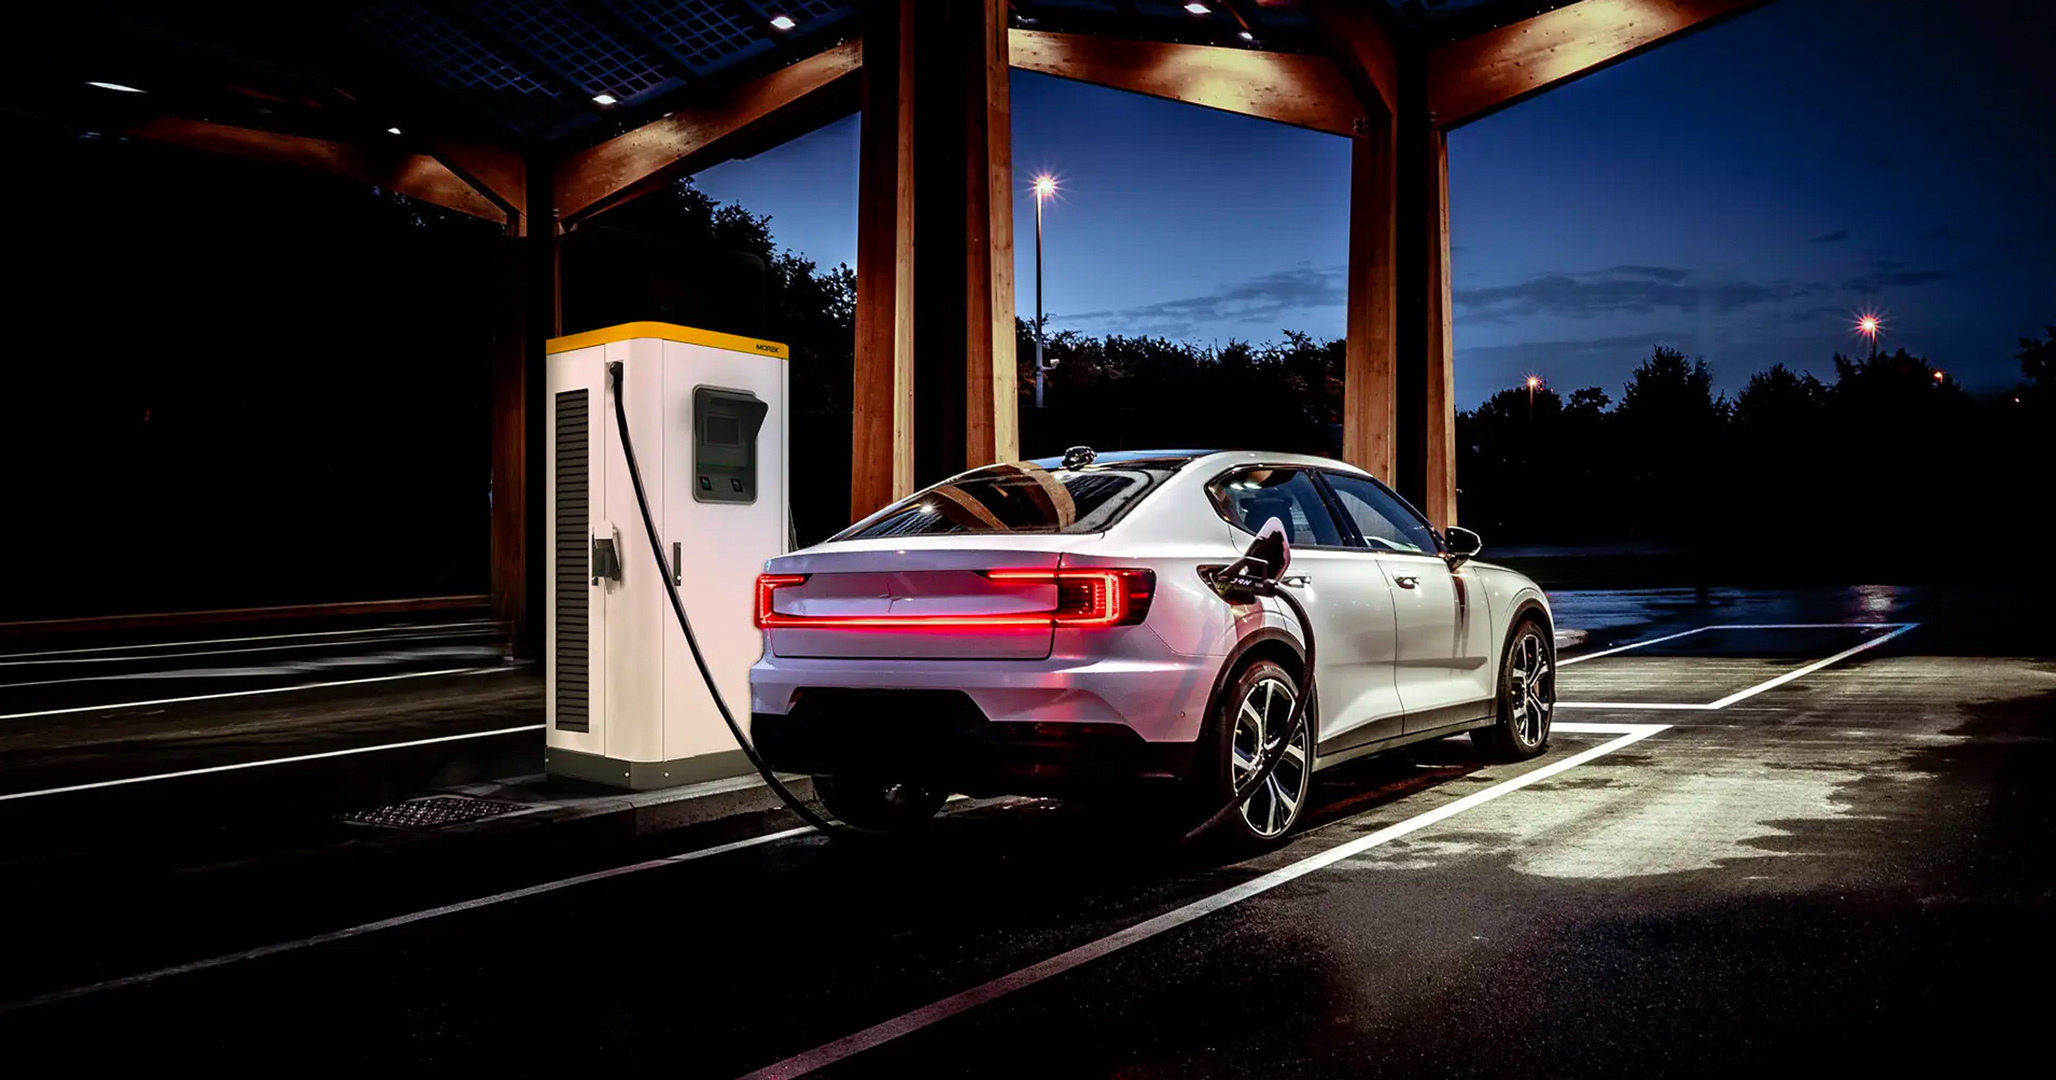
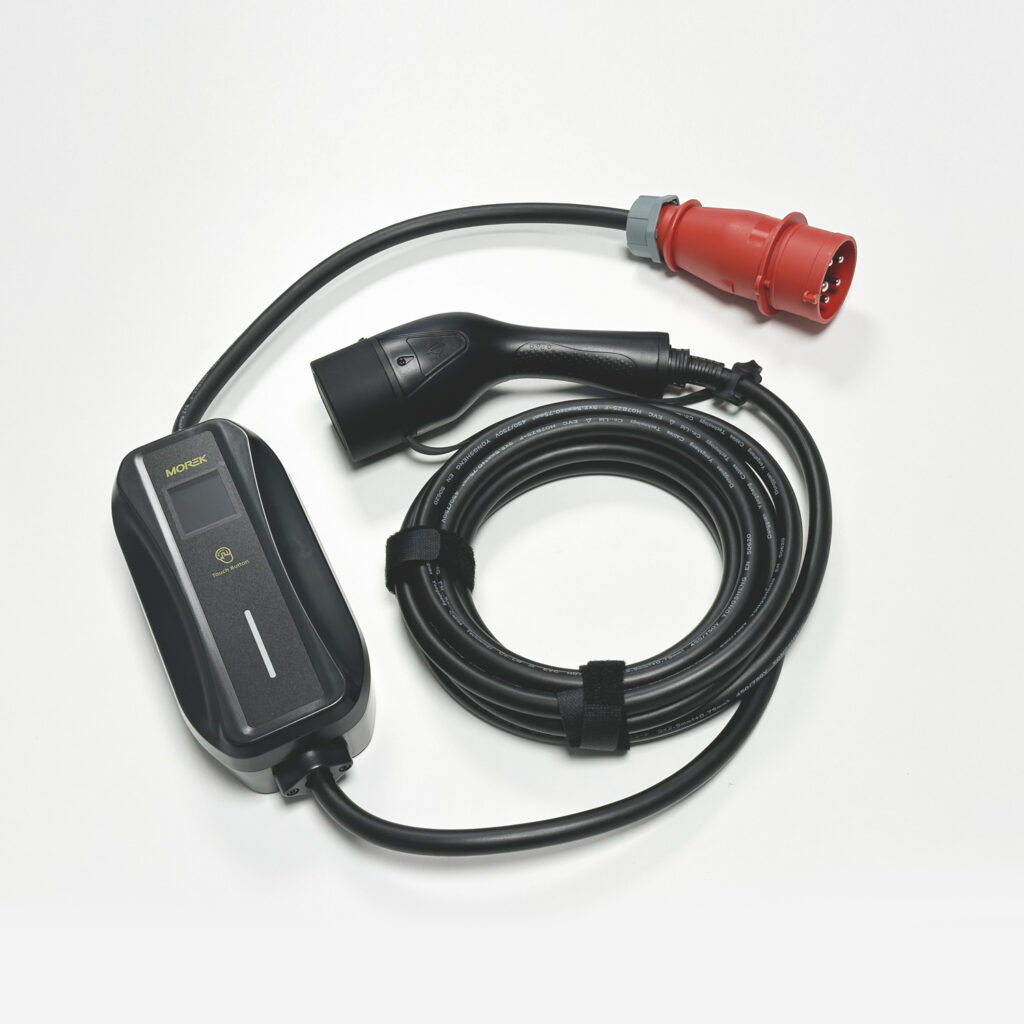
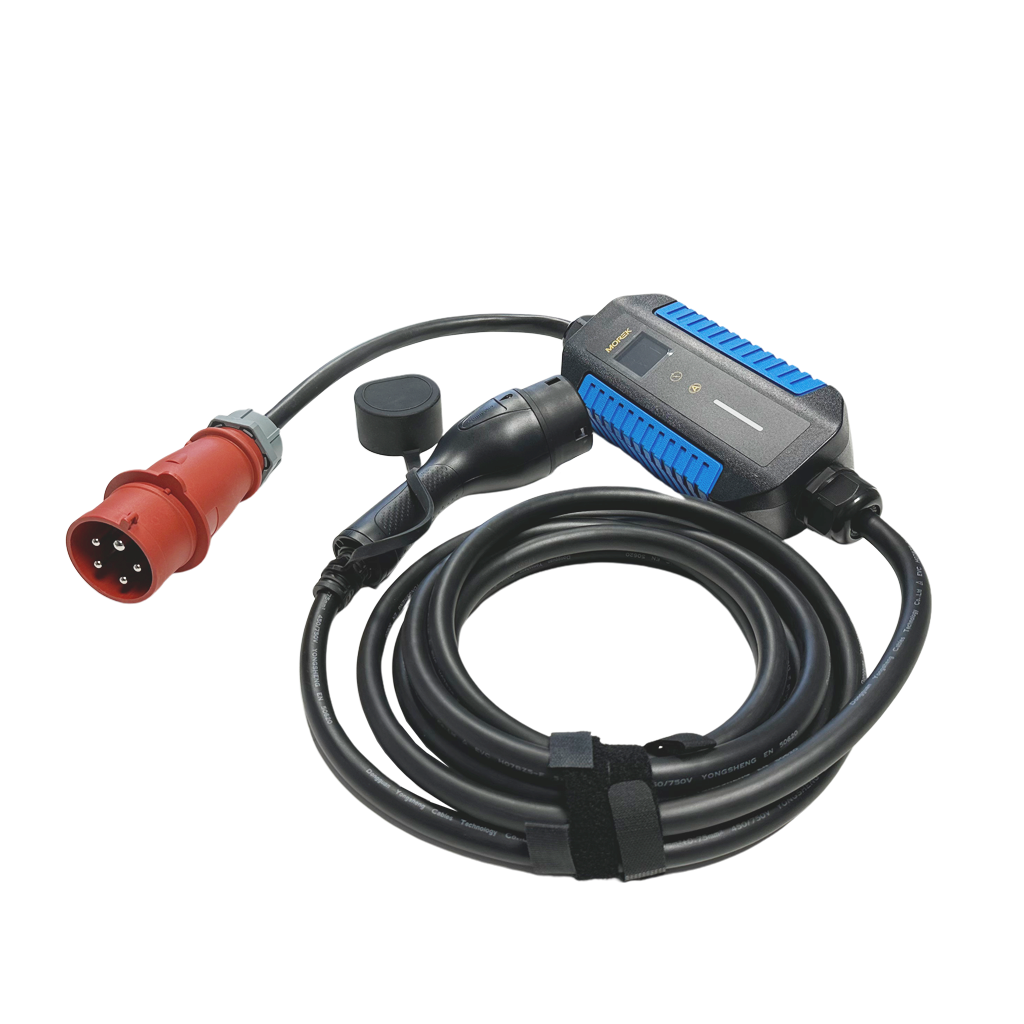
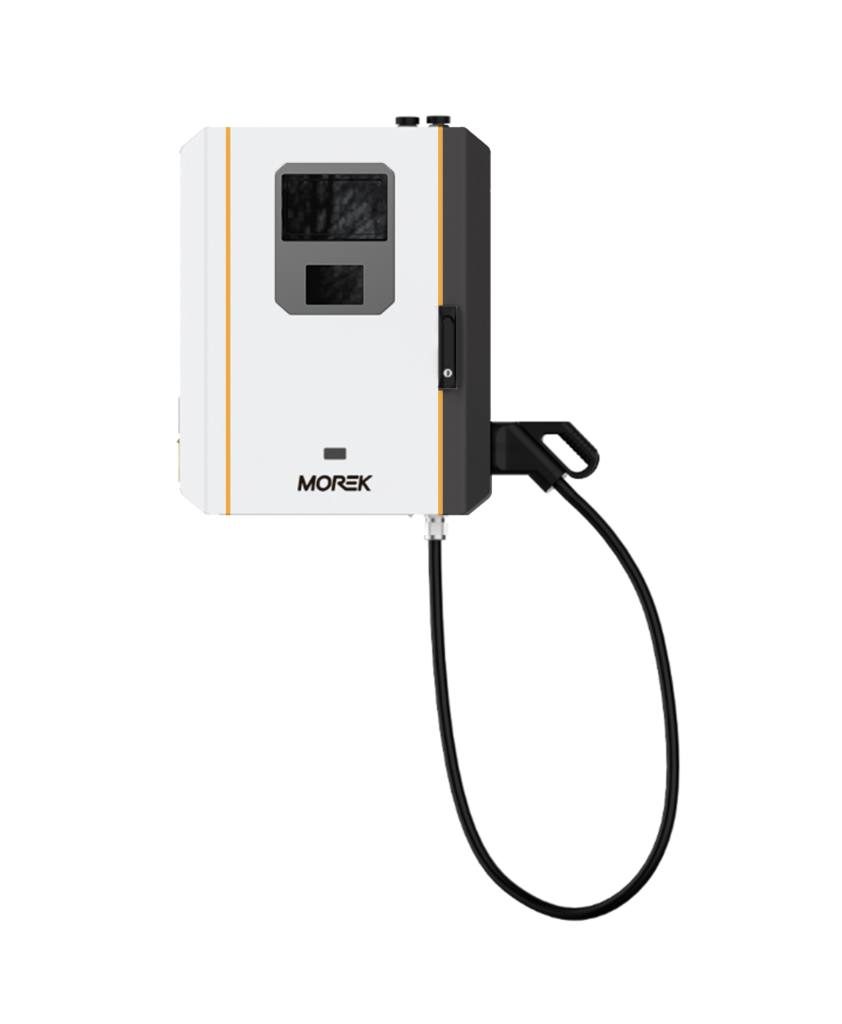
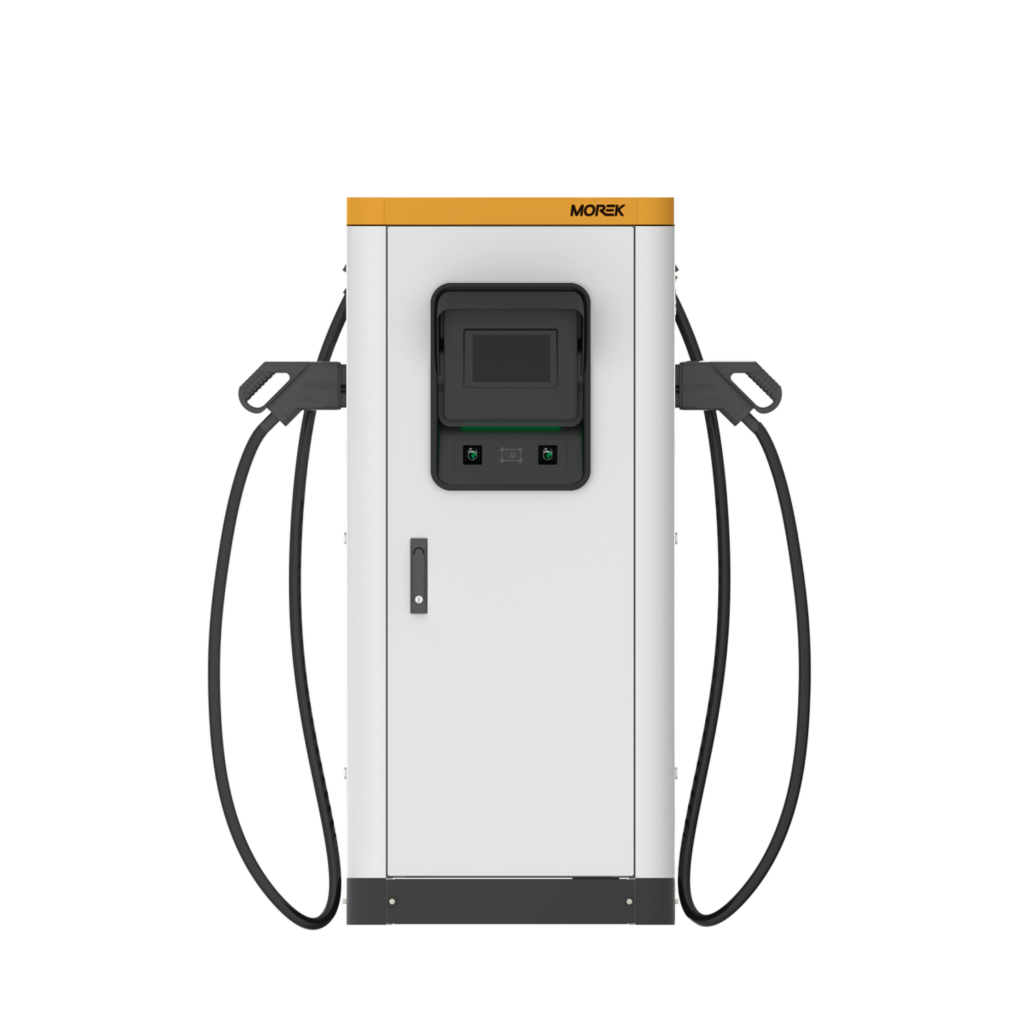
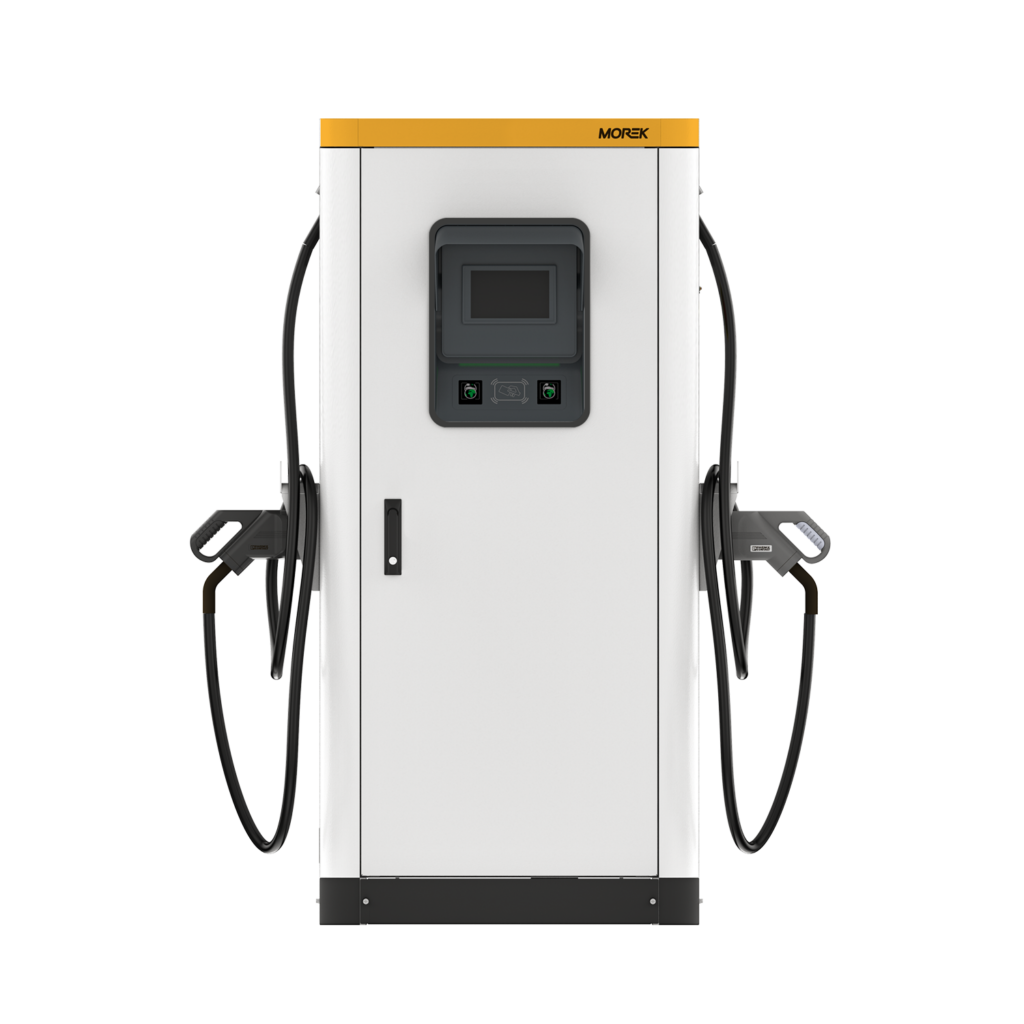
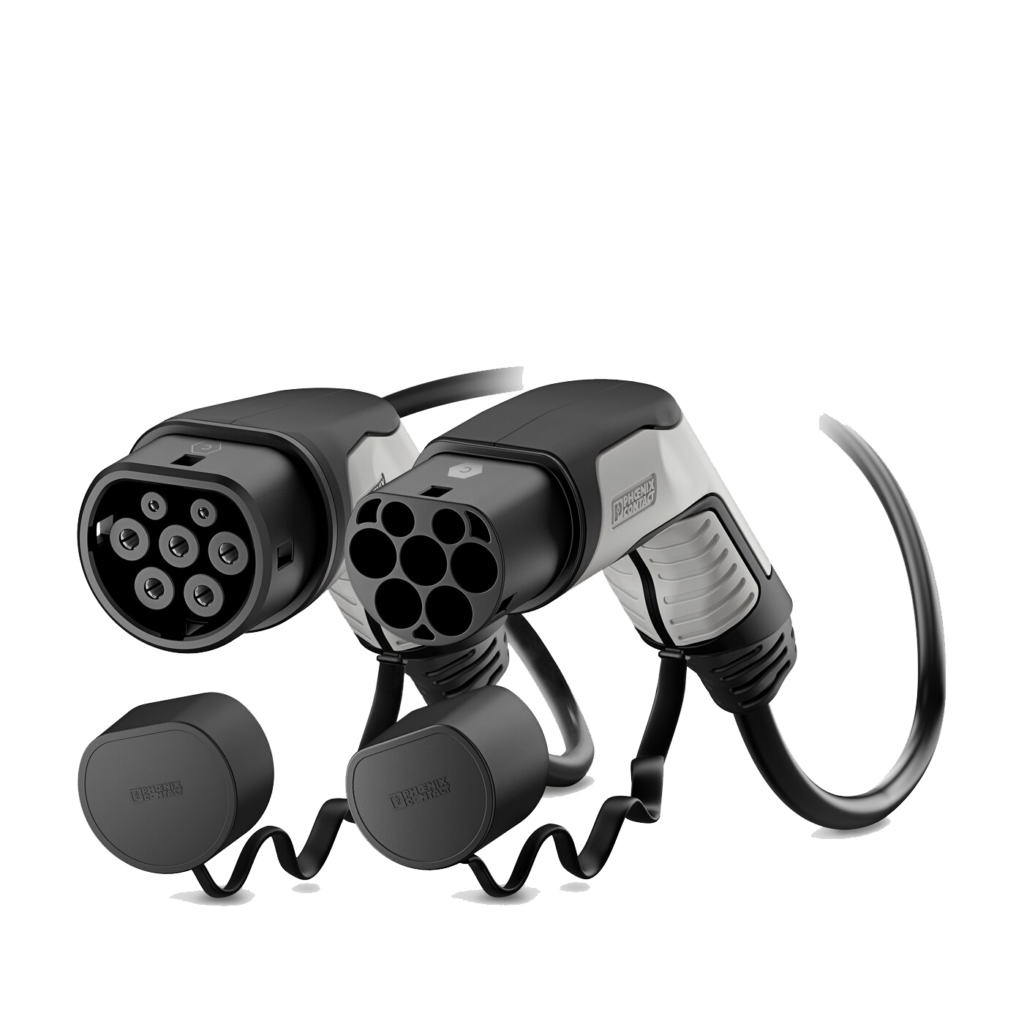
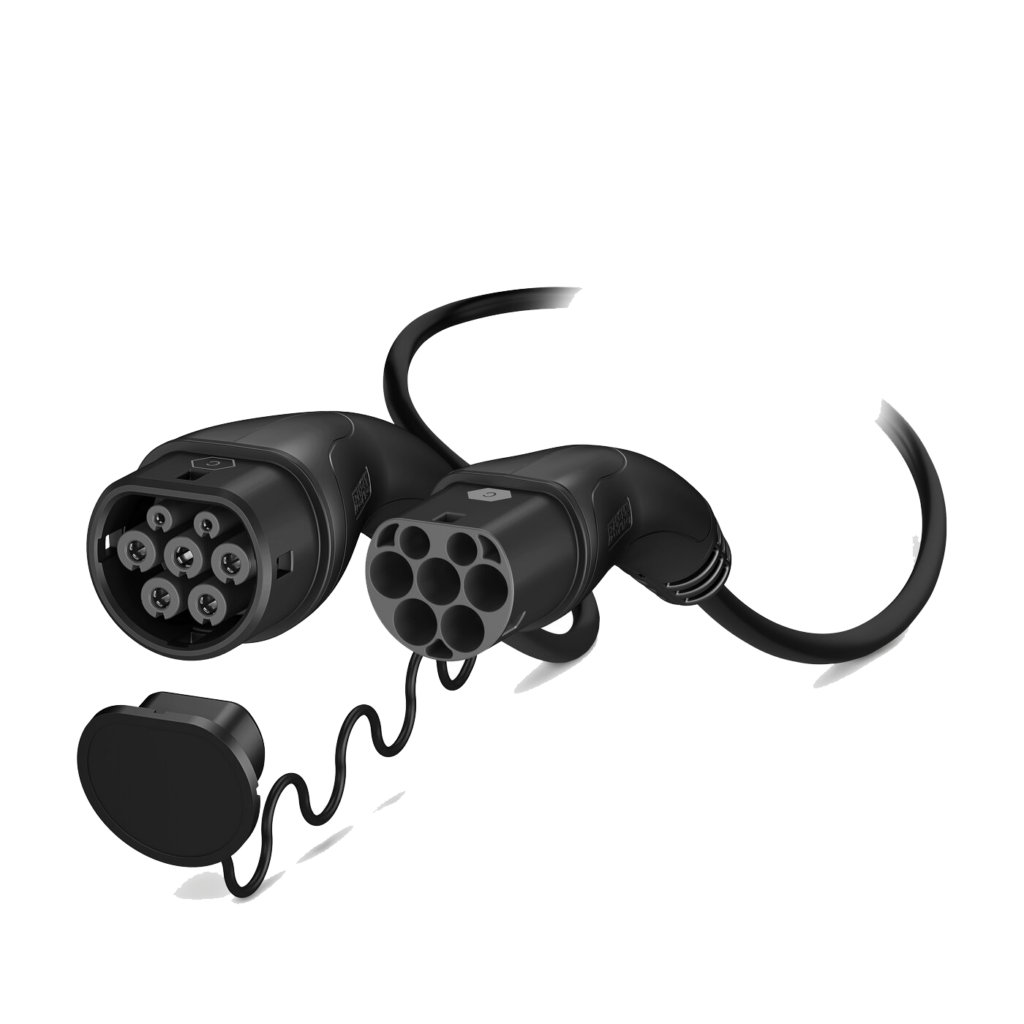
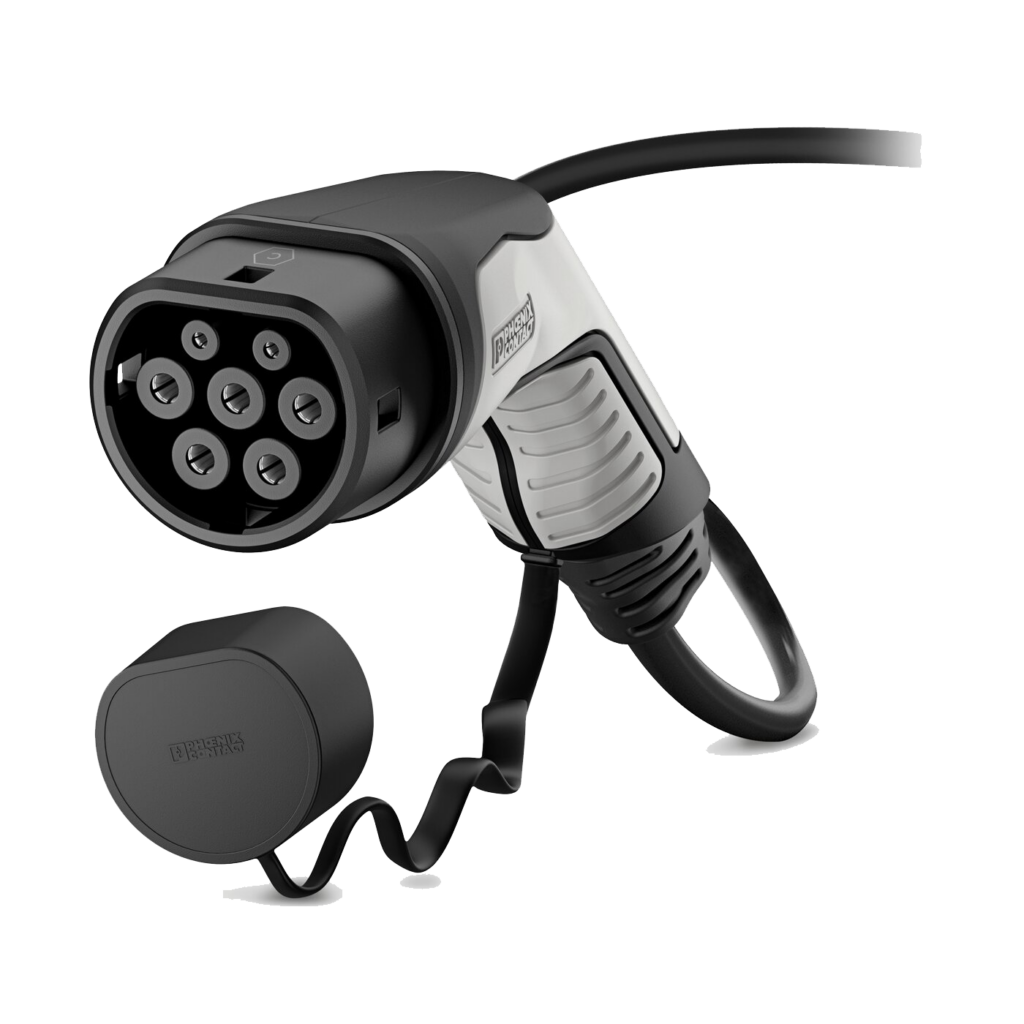
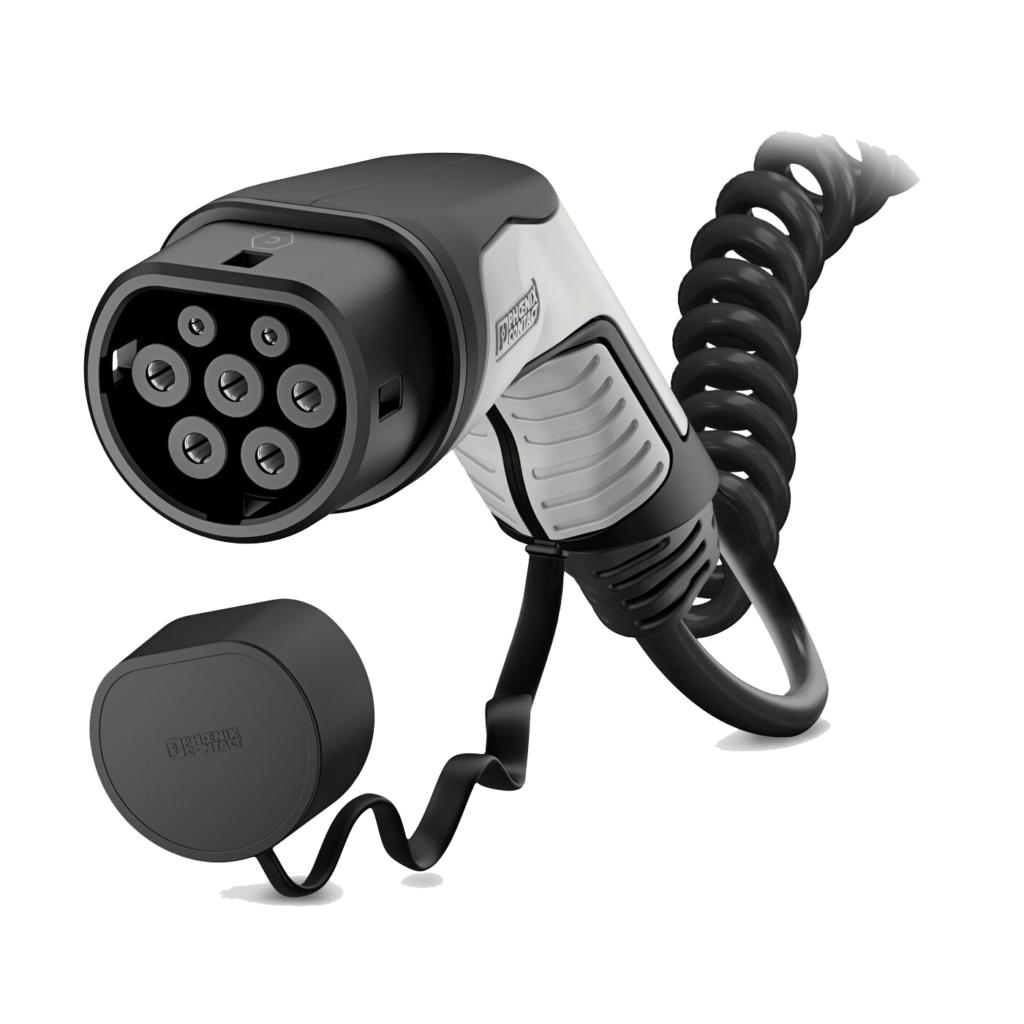
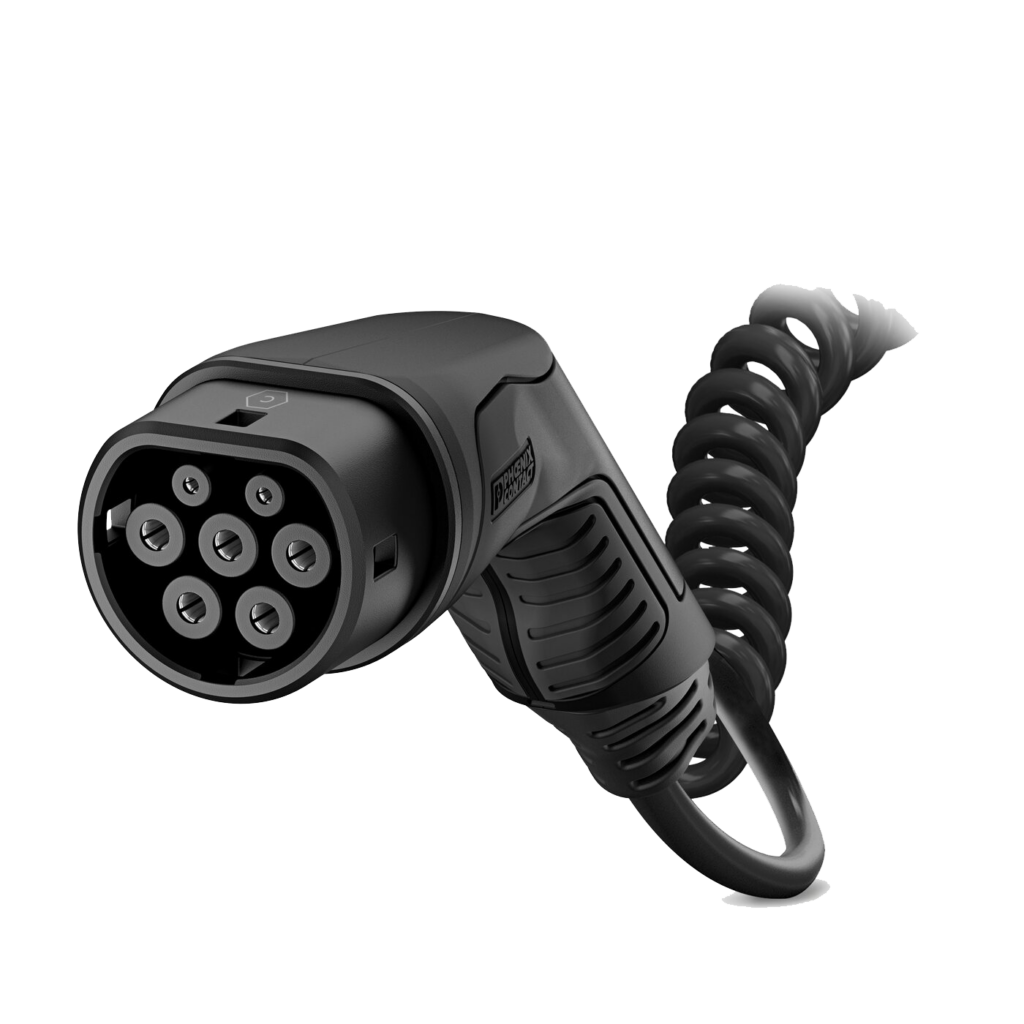
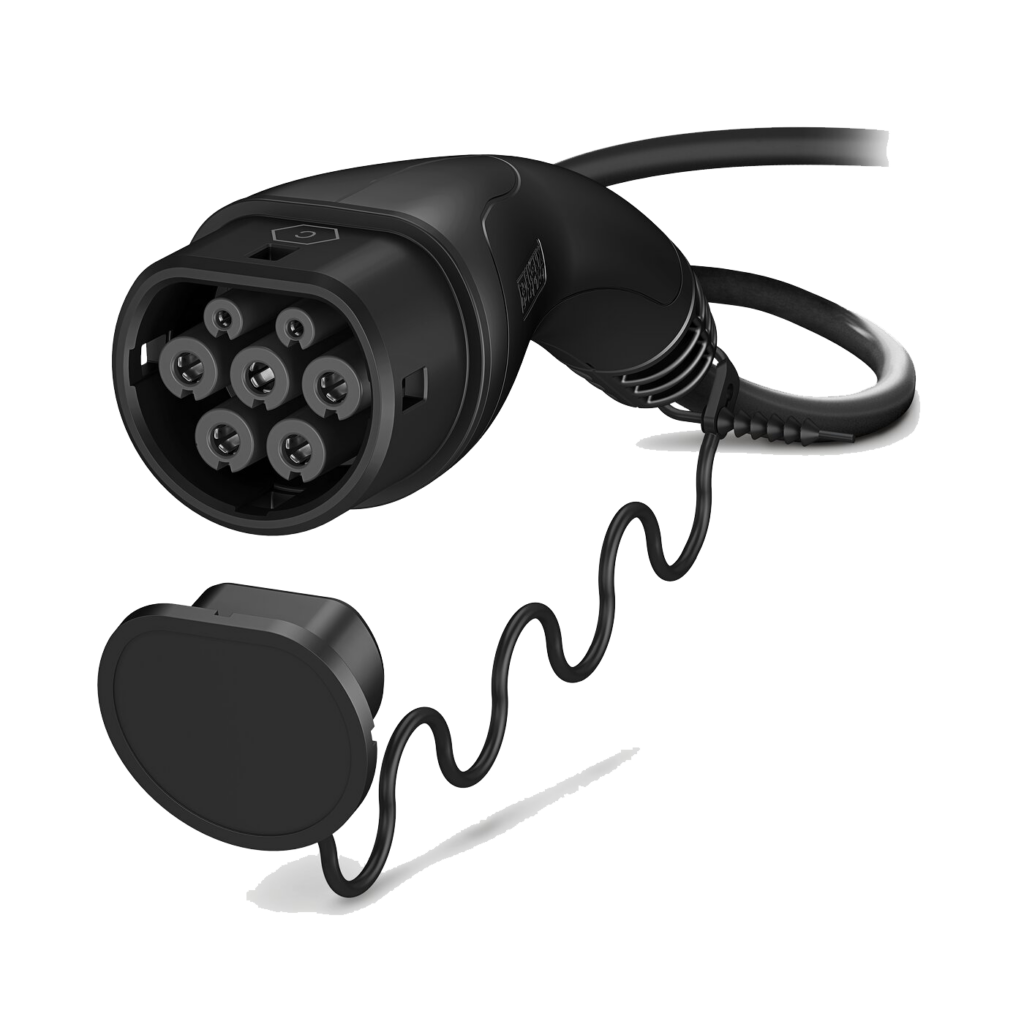
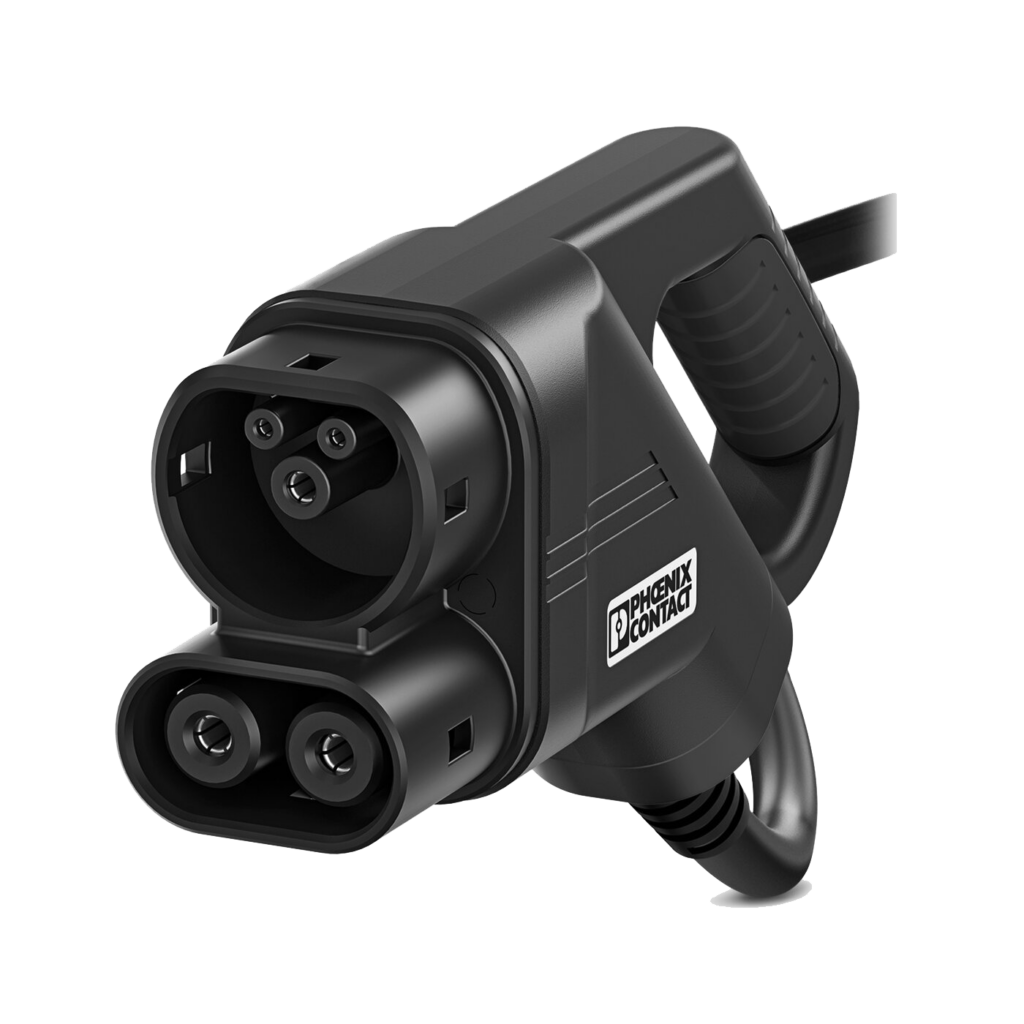
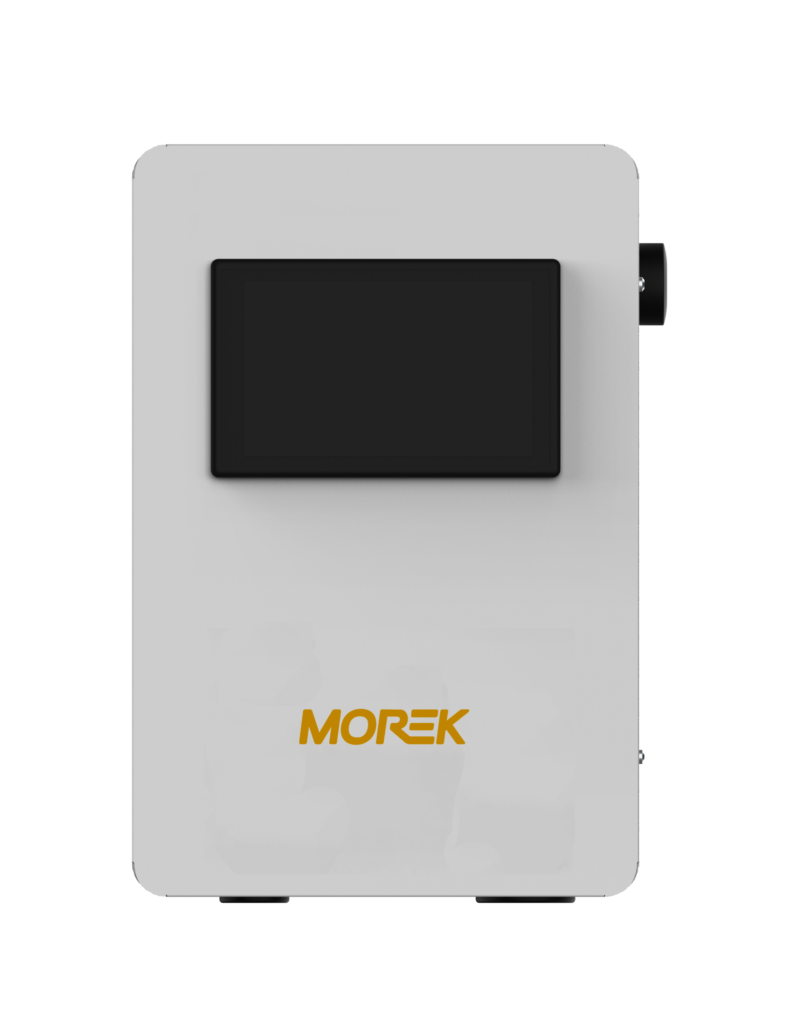
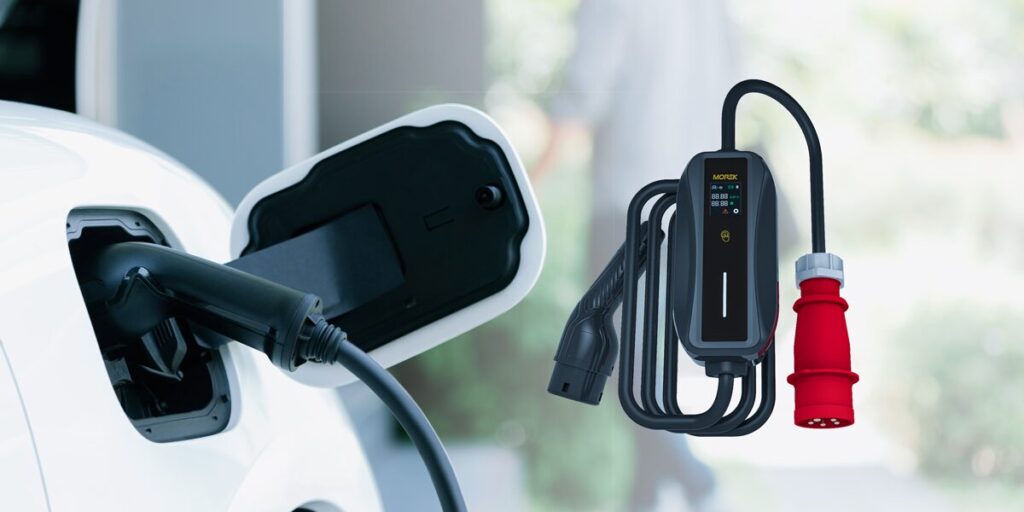
Morek EV AC Smart Charger
Installation and User Manual
Smart charge – WiFi, LAN, and/or optional 4G
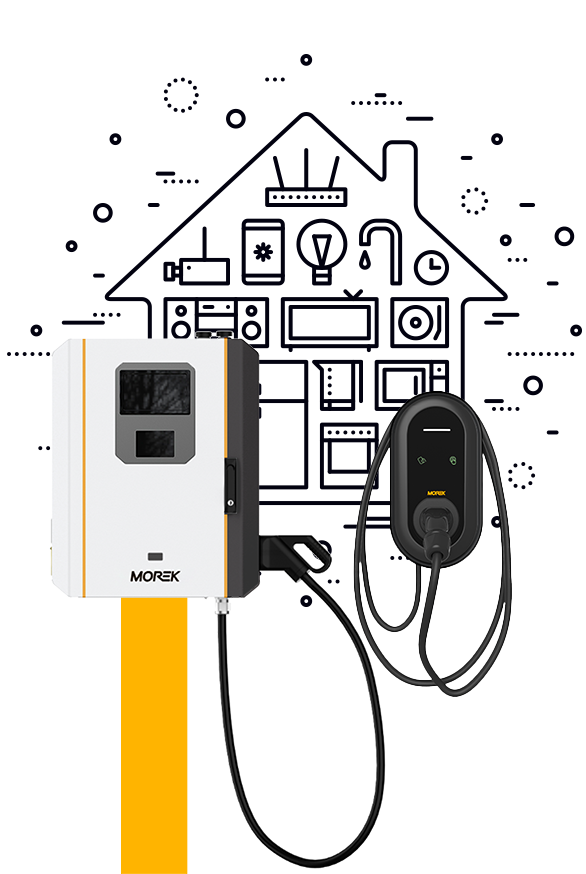
- Use it at a private house, apartment building, or work. Charge and share charging. Perfect for public charging.
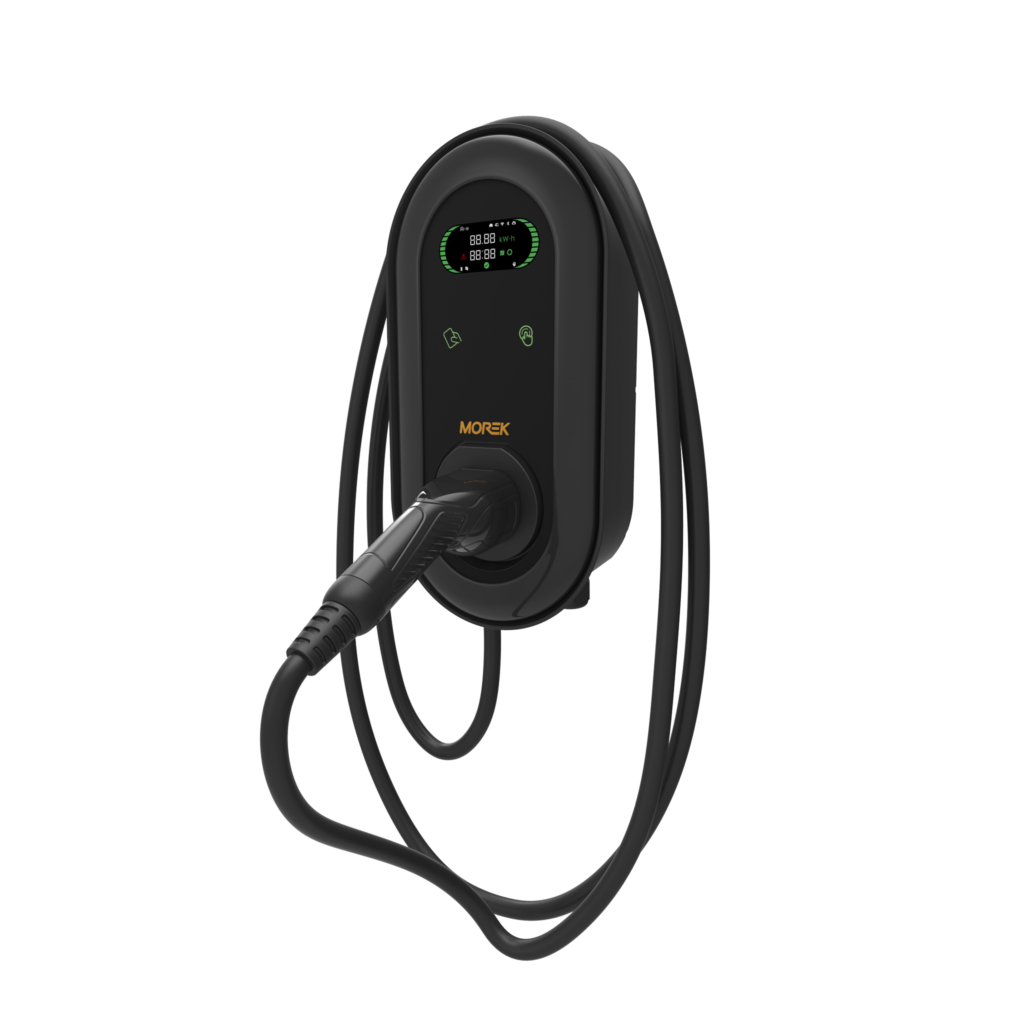
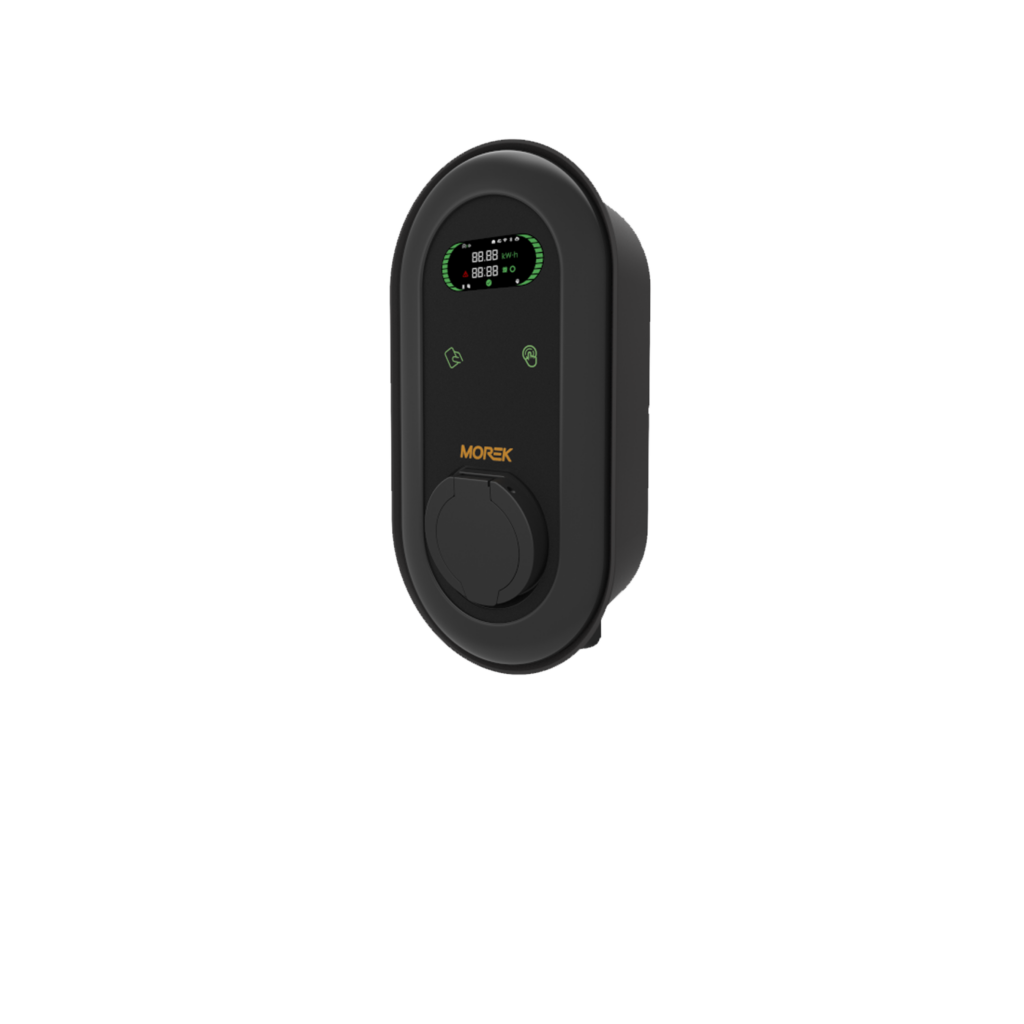
- Different modes of authentication support several use cases based on project requirements. The LCD display on the charger is easy to read and can be used in all locations – no translation to the local language is needed.
- With both RCD and DC leakage built into the charging station, there is no need for additional rail space in the electrical cabinet, and the comprehensive detection capability for various residual fault currents is provided.
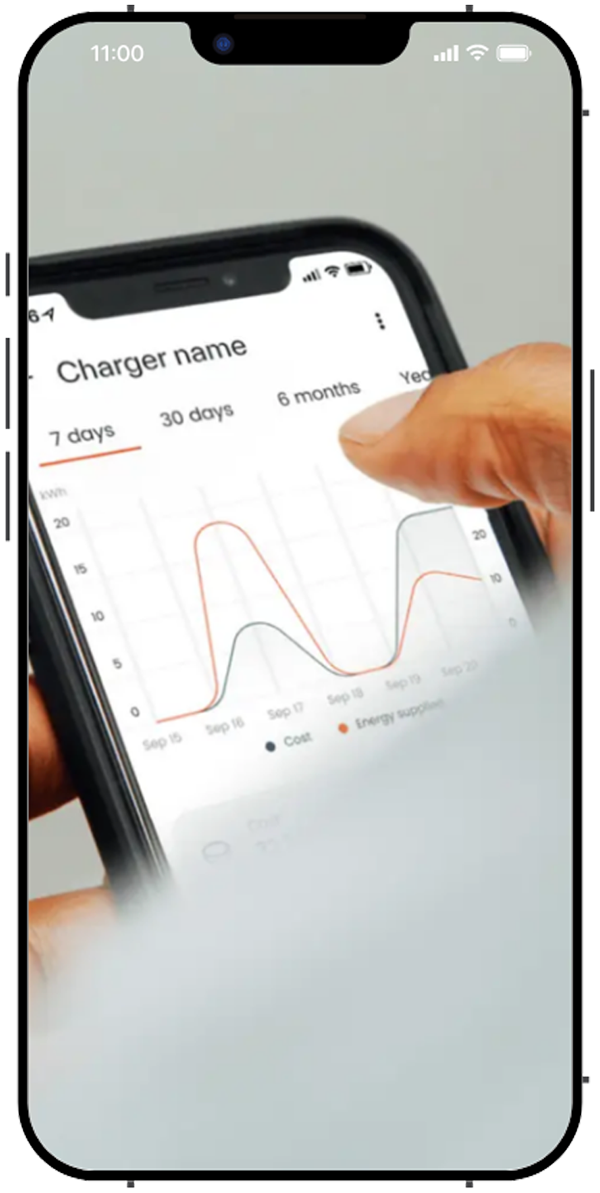
- The installation process is simplified for maximum efficiency. The charger comes with a preset configuration and easy access with the Morek EV Tool APP to reduce setup time.
Contents
- Whats included in the box
- Required tools for installation
- Installation steps
- Electrical wiring, wiring diagram
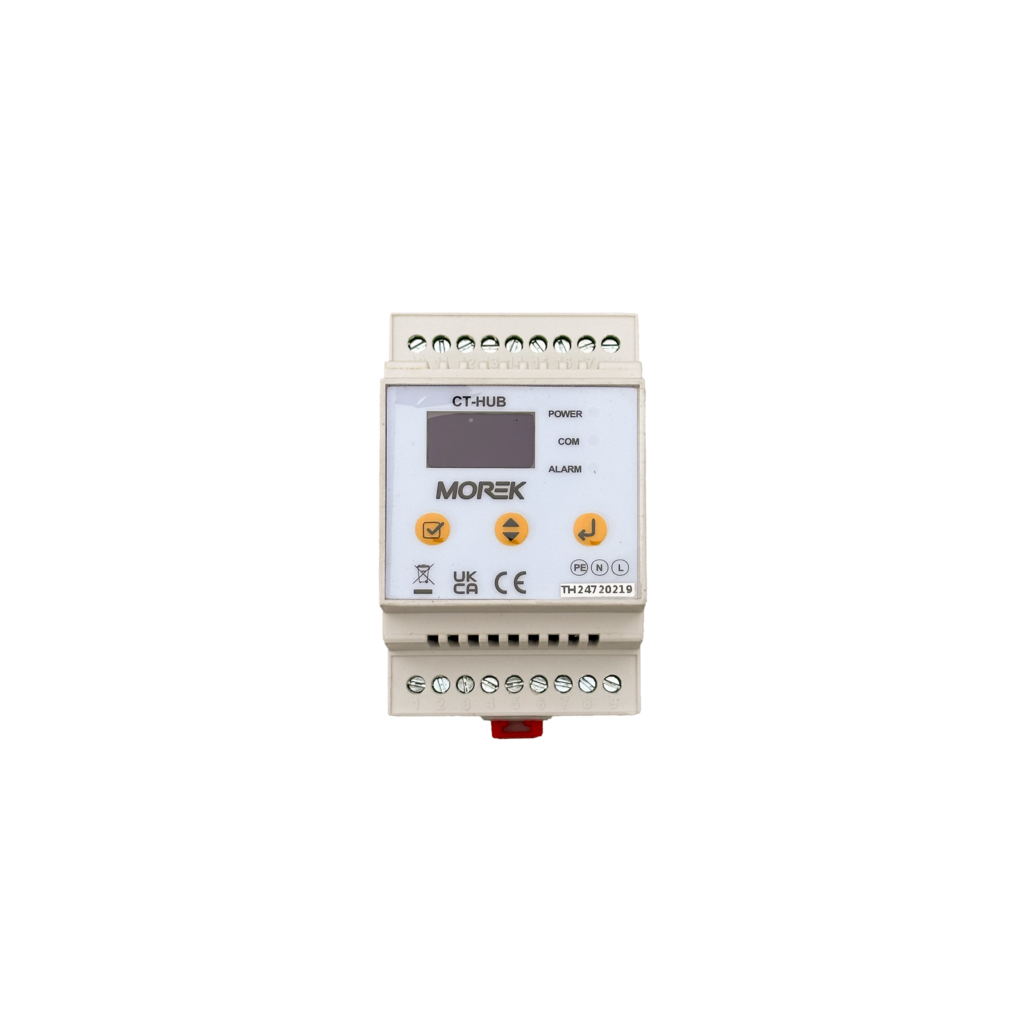
- DLM installation and wiring
- User interface
- Charging operations
- LED indicator
- Troubleshooting
- Maintenance
- Safety notes
Installation Steps
- Cut the drilling template from the carton, place the drilling template on the wall, drill holes where the three fixing points, insert the wall plugs into the fixing holes.
- Press the two barbs under the machine and take out the decorative cover.
- Loosen the six screws of the cover and take out the cover.
- Please drill the holes in the wall according to the hole layout on the cardboard that comes with the box.
- Fix the device on the wall by inserting the screws and waterproof gaskets.
Troubleshooting
| Fault Code | Fault Description | Troubleshooting Suggestions |
|---|---|---|
| 1 | Leakage | Check whether the charging connector and its cable are damaged or wet. |
Safety Notes
- Leave no inflammable or explosive substances near the EV Charger; otherwise, hazardous blast may result.

